| Keyword | Description |
| DEV_PHASE |
Depending on the phase of the application, the endpoint is different.
|
| APM_ID |
The ID of the application model can be requested via the API.
|
| CUSTOMER | Name of the client from whom a site was created with the application. |
| SITE | Name of the site that was created. |

Modbus Master Library – simple, convenient implementation
Modbus is a communication protocol commonly used in industrial automation. The Modbus protocol consists of a client-server architecture in which a client (for example, a control device) sends commands to a server (for example, sensors or actuators) and receives data from it.
The communication is based on a simple command-response mechanism. Modbus is an open protocol, which among other things has led to its great popularity and spread.

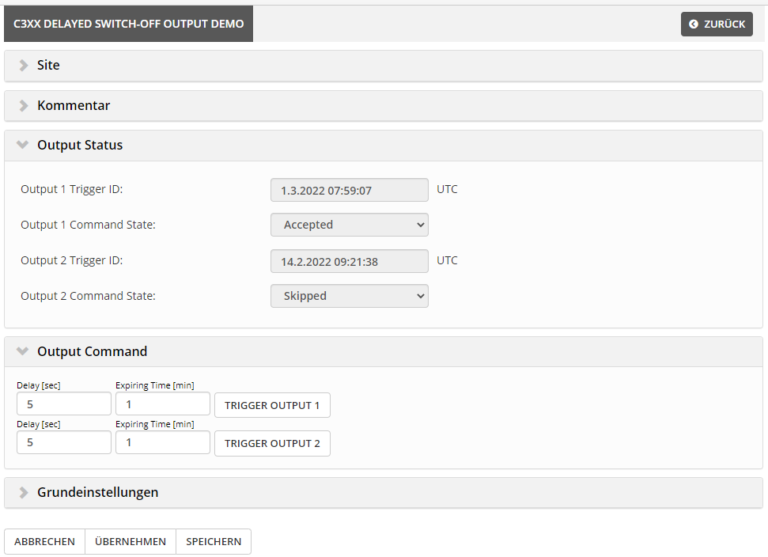
The first steps with the myDatalogC3 – C3xx 1UI/1Rel Demo
Familiarize yourself with your myDatalogC3. The demo IoT app C3xx 1UI/1Rel shows in a few steps how the device works. At the end, you will get an outlook on how to create your own IoT app.

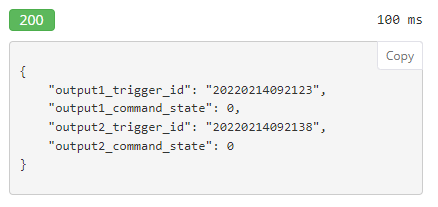
UI Trigger for myDatalogC330
The UI Trigger functionality provides the possibility to evaluate analog signals acquired via the UI channels with high sampling frequency (up to 1kHz) and to